-
 Functional Test
-
 Major
Major
-
Moodle 4.5
This requires admin access, Google credentials
OAuth setup
- Follow OAuth 2 Google service to get the Client Id and Client secret.
- Enable Gmail API in the Google Developer console.
- Login as admin.
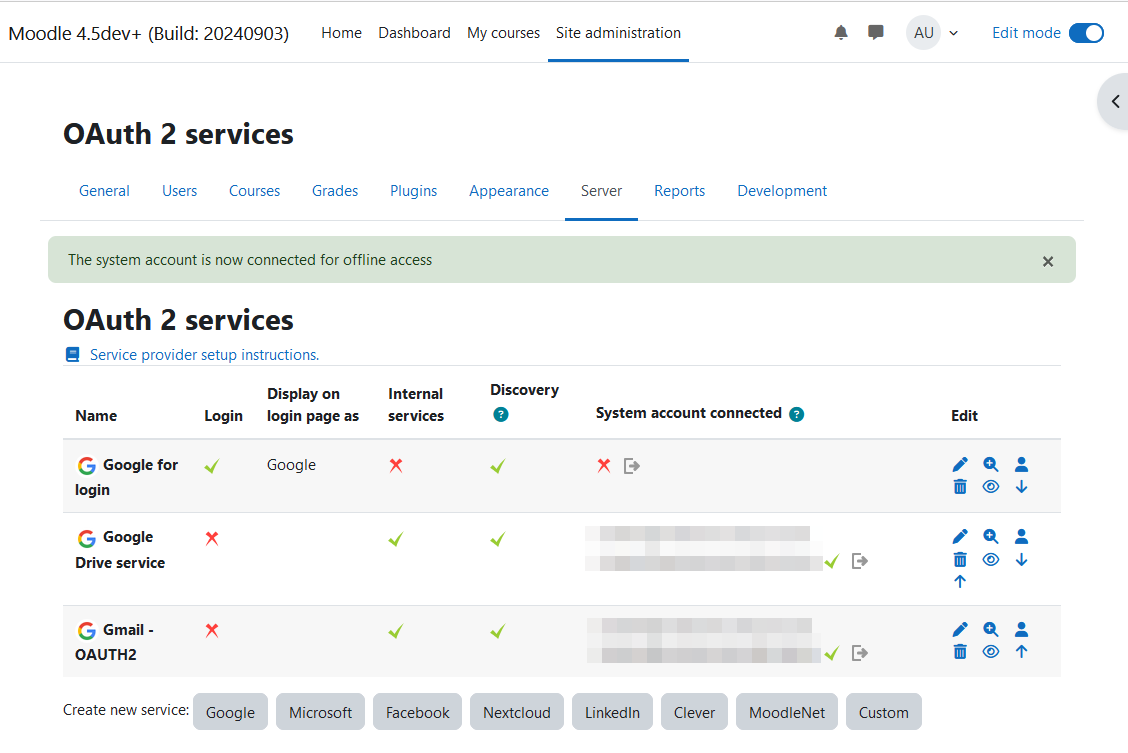
- Navigate to Site Administrator > Server > OAuth 2 services
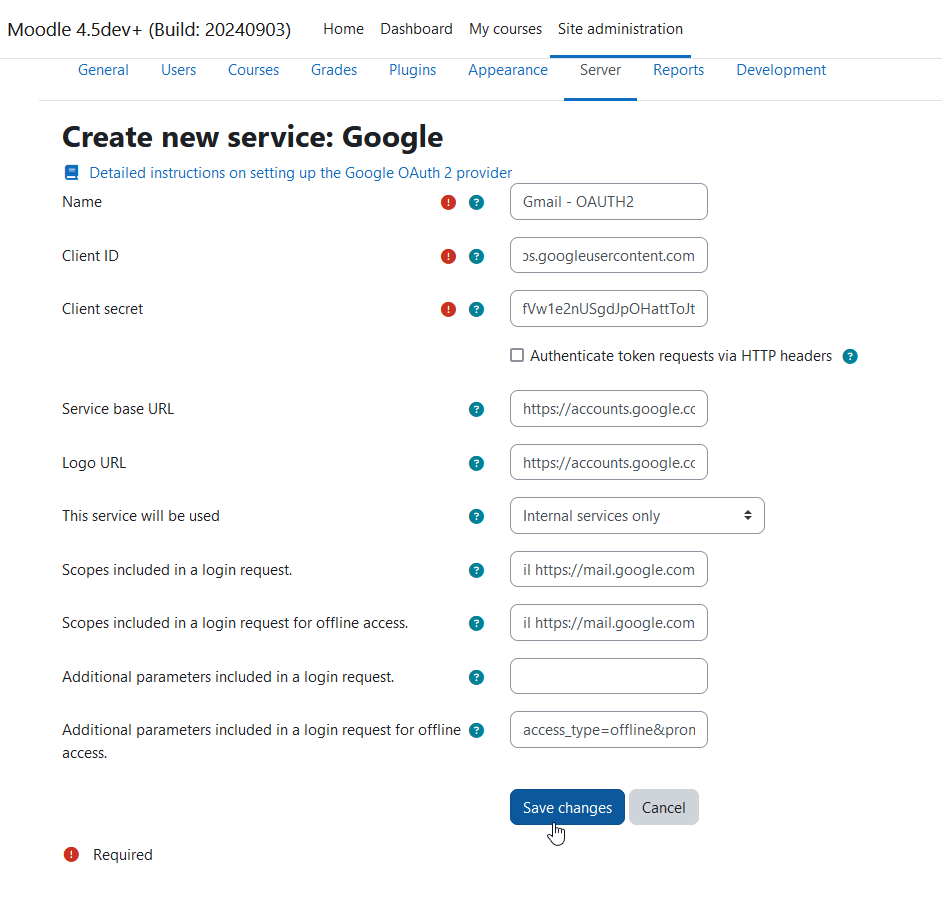
- Create a new Google service called: Gmail - OAUTH2.
- Set the Client id and Client secret.
- Set the Scopes included in a login request value to: "openid profile email https://mail.google.com" (Without the quote).
- Set the Scopes included in a login request for offline access value to: "openid profile email https://mail.google.com" (Without the quote).
- Save changes.
- Click Connect to a system account and finish it.
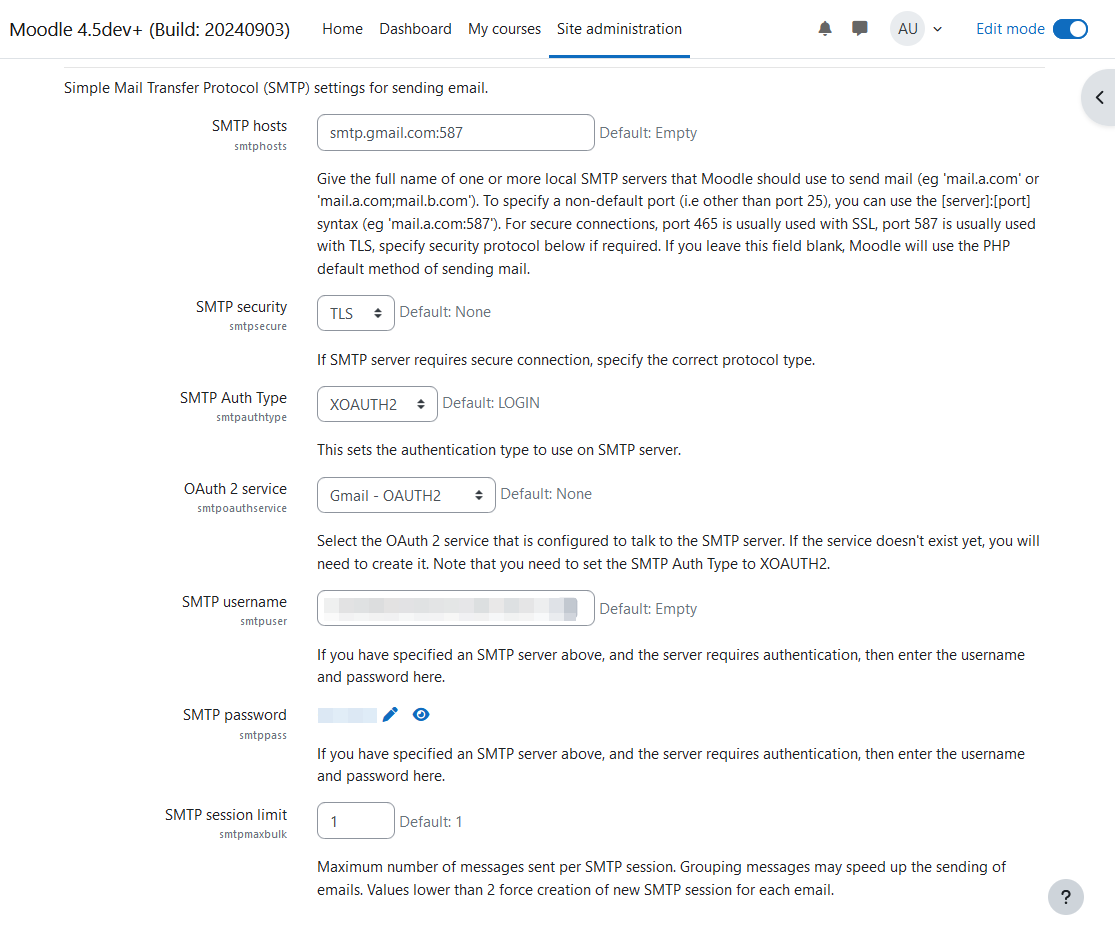
Initial setup - SMTP
- Navigate to Site Administrator > Server > Email > Outgoing Mail Configuration.
- Set the following value:
- SMTP hosts: smtp.gmail.com:587
- SMTP Security: TLS
- SMTP Auth Type: XOAUTH2
- OAuth 2 Service: Gmail - OAUTH2
- SMTP username: The username that was used to connect to Google Developer Console.
- Save changes
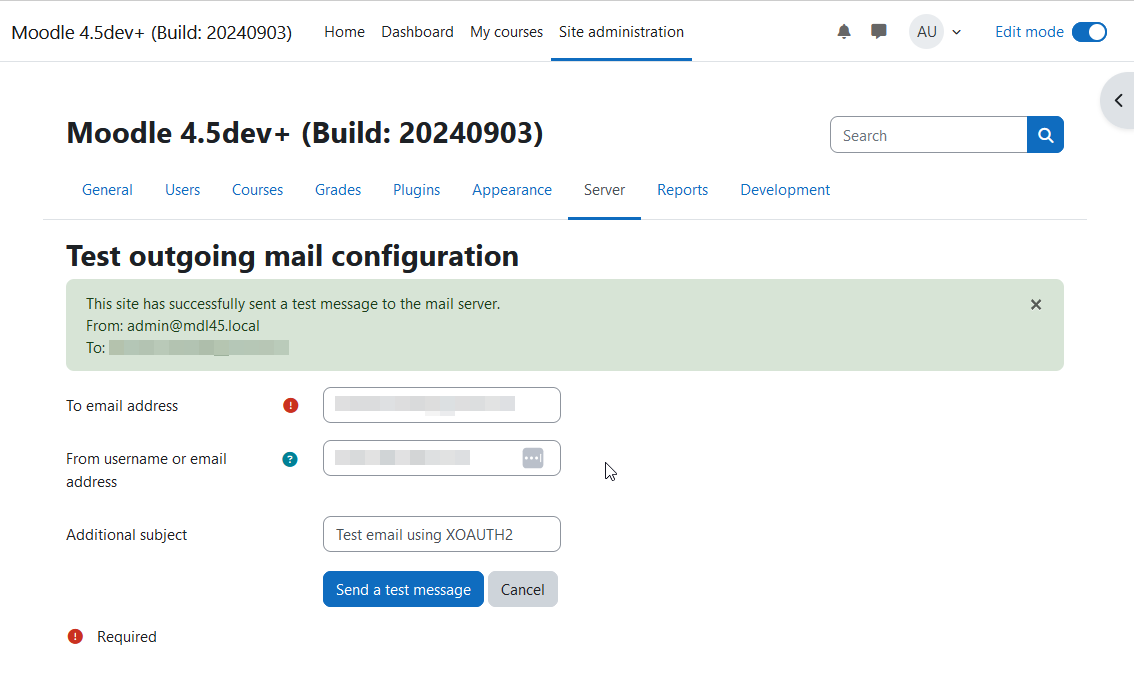
Outgoing mail testing
- Navigate to Site Administrator > Server > Email > Outgoing Mail Configuration -> Test outgoing mail configuration
- To email address: Your email address to receive the test email.
- Additional subject: Test email using XOAUTH2
- Press Send a test message.
- Verify that you will see: This site has successfully sent a test message to the mail server.
- Open your email inbox.
- Verify that you will see an email with:
- Title: [Your site name]: test message. Test email using XOAUTH2
- Content: This is a test message to confirm that you have successfully configured your site's outgoing mail.
Initial setup - IMAP
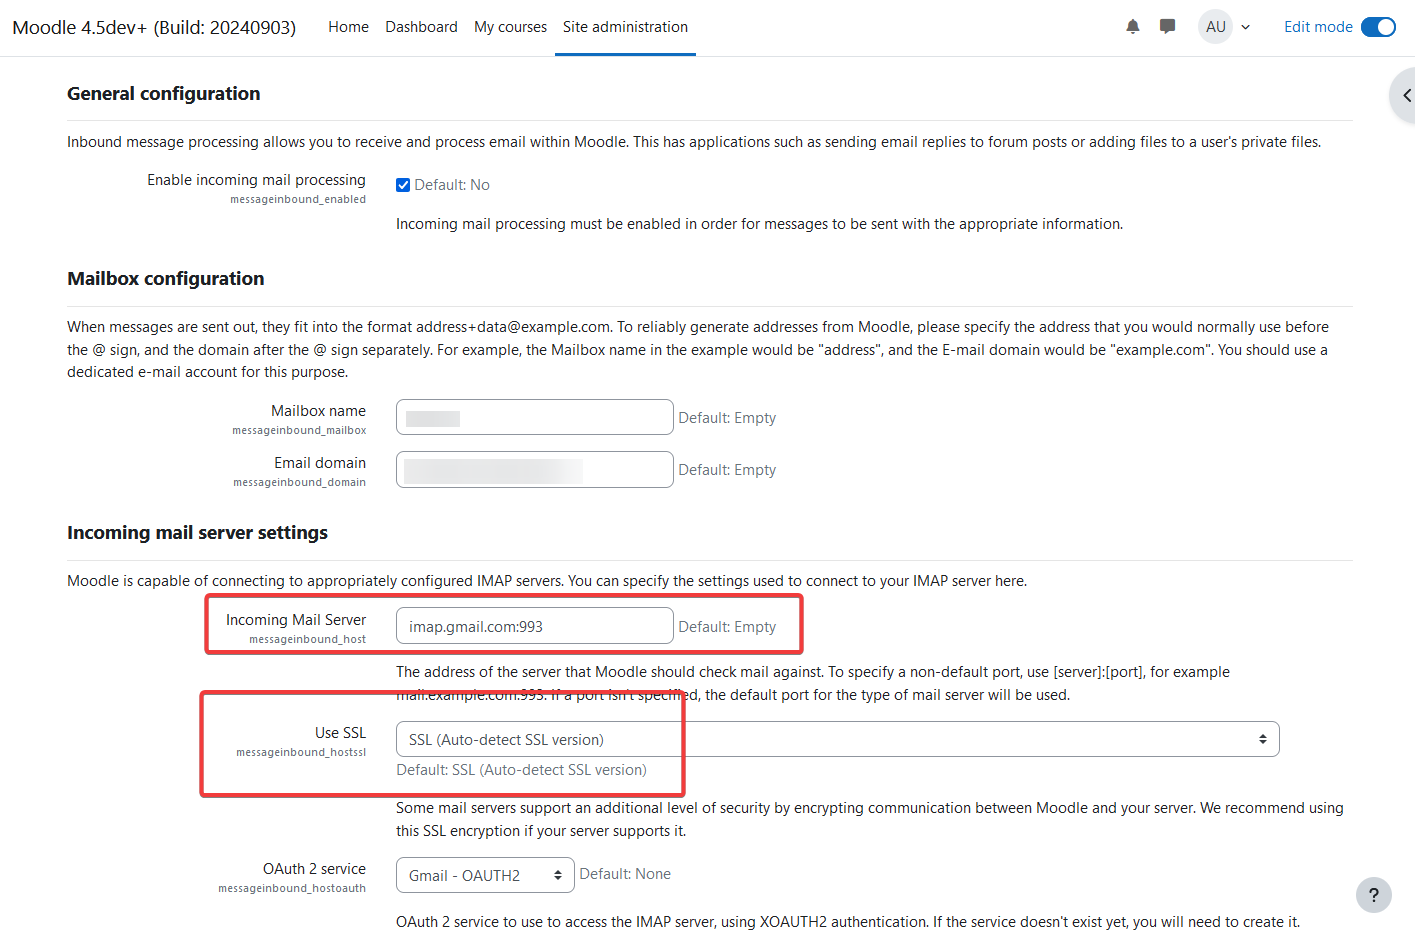
- Navigate to Site Administrator > Server > Email > Incoming Mail Configuration.
- Set the following value:
- Enable incoming mail processing: Checked
- Mailbox name: the name before @ sign of your email address (Ex: Your email is abc@gmail.com, the Mailbox name will be: abc)
- Email domain: the name after @ sign of your email address. In this case, it will be: gmail.com
- Incoming Mail Server: imap.gmail.com
- OAuth 2 Service: Gmail - OAUTH2
- Username: The username that was used to connect to the Google Developer Console.
- Save changes.
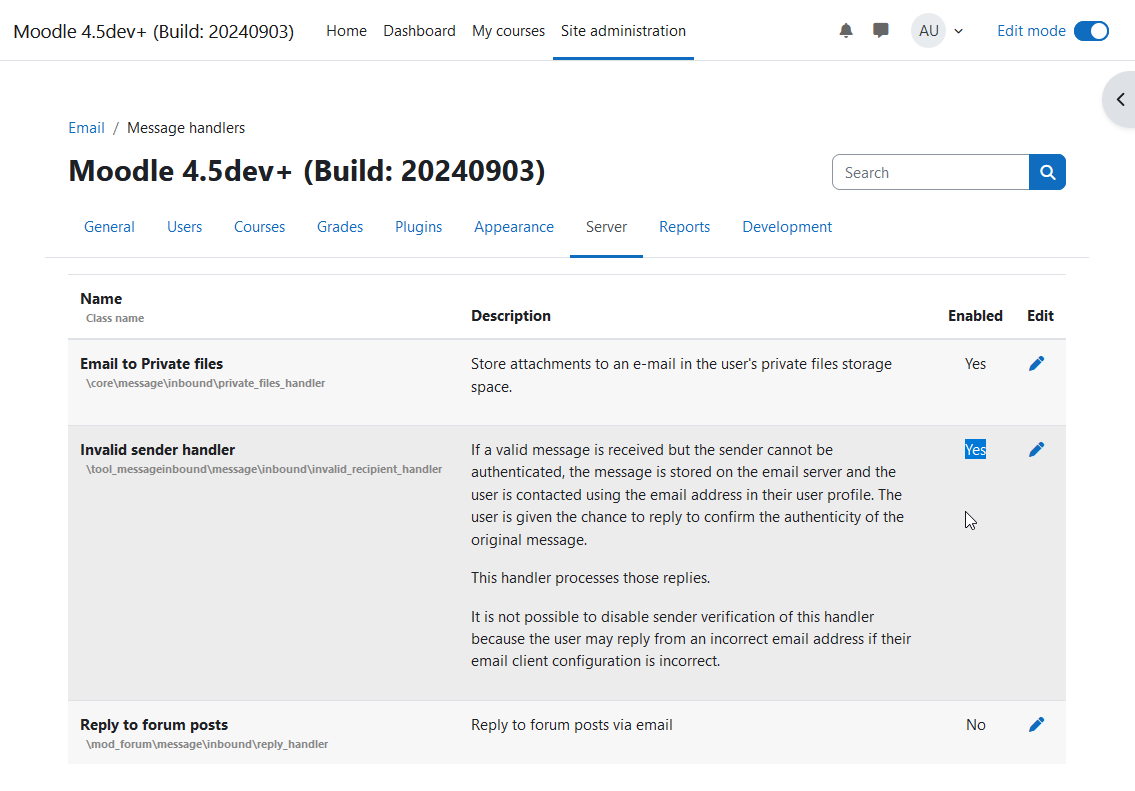
- Navigate to Site Administrator > Server > Email > Message handlers.
- Enable the Email to Private files.
Incoming mail testing
- Create a new tab on your browser called Tab 1.
- On Tab 1, click on the User Profile menu > Profile.
- Observe the Email address of the admin user. (Example: xyz@gmail.com)
- Create a new tab on your browser called Tab 2.
- On Tab 2, open the webmail of the Admin's email (Example: https://mail.google.com)
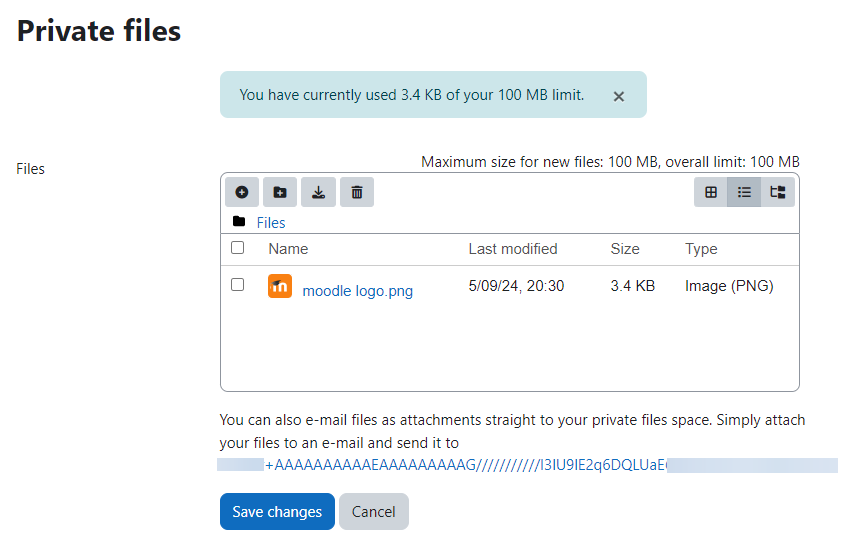
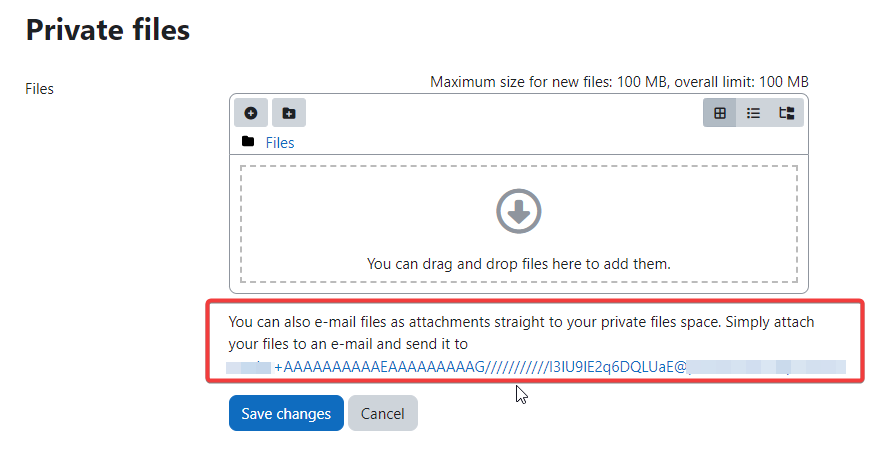
- On Tab 1, click on the User Profile menu > Private files.
- Verify that you will see: You can also e-mail files as attachments straight to your private files space.
- Copy the email address.
- On Tab 2, compose a new email with the following value:
- To: The copied email address.
- Subject: Test attachment
- Content: Attached
- Attachment: Attach an image on your machine.
- Send the email.
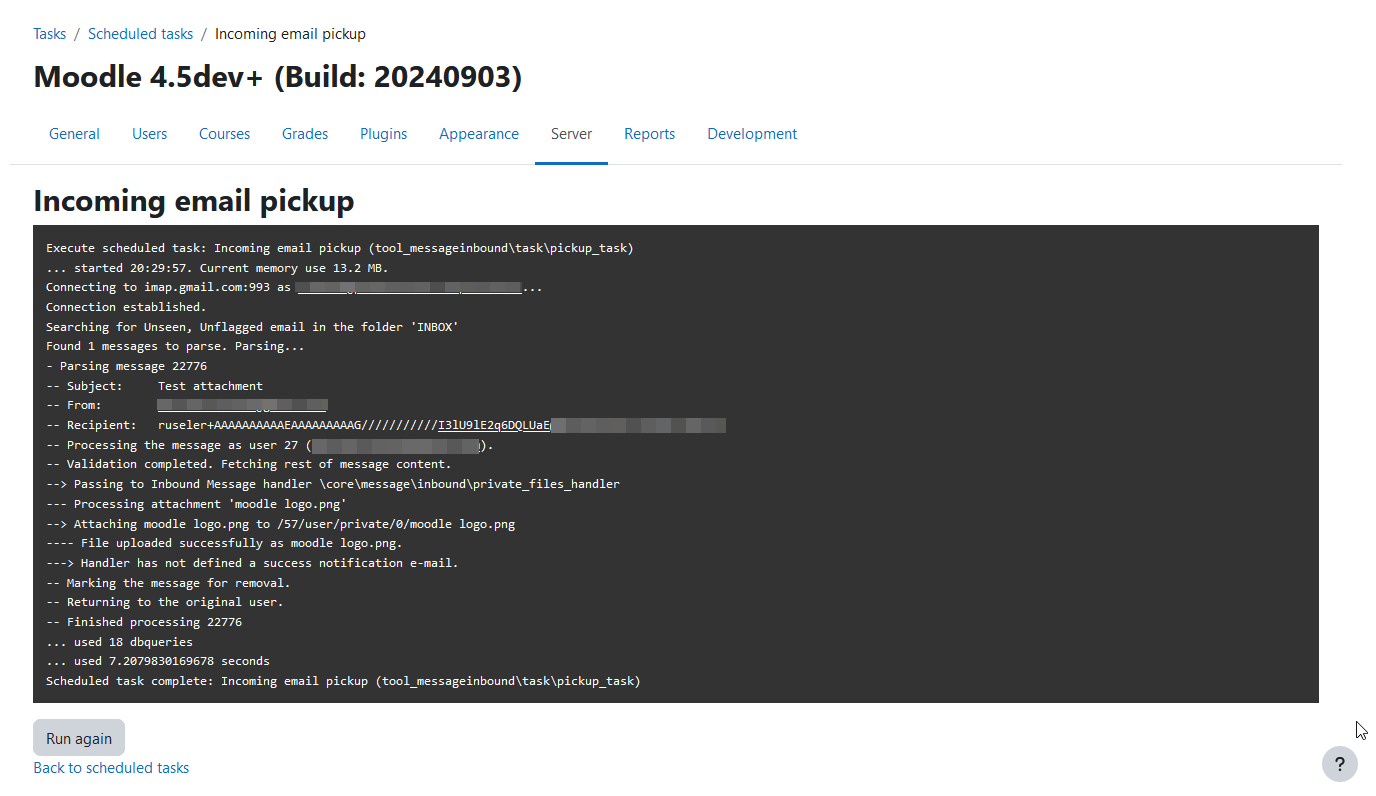
- Go to Site administration > Tasks > Scheduled tasks, locate Incoming email pickup task and click "Run now" link
- On Tab 1, click on the User Profile menu > Private files.
- Verify that you will see the image that you have sent via email.

- is a QA test written for
-
MDL-61921 Support XOAUTH2 for outgoing/incoming mail
-

- Closed
-