Uploaded image for project: 'Moodle'
  1. Moodle
  2. MDL-80836

Replace session piggyback with login flow during account linking process

XMLWordPrintable

    • MOODLE_401_STABLE, MOODLE_402_STABLE, MOODLE_403_STABLE
    • MOODLE_401_STABLE, MOODLE_402_STABLE, MOODLE_403_STABLE
    • MDL-80836-401
    • MDL-80836-403
    • MDL-80836-main
    • Hide

      Use Chrome. For the next few months, at least until Chrome brings in it's final cookie blocking measures, you'll have a 99% chance of being able to continue to use the piggyback.

      Show
      Use Chrome. For the next few months, at least until Chrome brings in it's final cookie blocking measures, you'll have a 99% chance of being able to continue to use the piggyback.
    • Easy
    • Hide

      Note: Test on Chrome, Edge or Firefox. Safari blocks 3rd party cookies and isn't yet supported in the tool.

      Prerequisites

      You need two Moodle sites - one called 'platform' and one called 'tool':

      • In the tool site admin settings:
        • Enable enrol_lti and auth_lti plugins
        • Enable "Allow frame embedding"
      • Make both sites public, HTTPS sites using something like ngrok, localtunnel, expose, etc.
        • Each MUST have a distinct domain to ensure we hit cross-site checks, so you may need to use 2 different tools

      Course setup

      1. Login to the tool site as the admin
      2. Create a course called 'tool course'
      3. Create an assignment in the course
      4. From the course nav, select "More > Published as LTI tools"
      5. Click to publish a new resource
      6. Select the assignment in the "Tool to be published" field, leaving everything else alone
      7. Save
      8. In another tab, login to the platform site as the admin
      9. Create a course called 'platform course'

      LTI 1.3 setup

      1. Login to the tool site as the admin user
      2. Go to Admin > Plugins > Enrolment plugins > Publish as LTI tool > Tool registration
      3. Click to create a new registration
      4. Name the registration "platform site" and continue
      5. You'll see a dynamic registration URL. Click the "Copy to clipboard" icon to copy it
      6. Now, in another browser tab, login as the admin user to the platform site
      7. Go to Site admin > Development > Debugging and set debug messages to "None". If we don't do this, we'll hit MDL-80674.
      8. Go to to Admin > Plugins > Activities > External tool > Manage tools
      9. Paste the URL value into the "Tool URL" field
      10. Click "Add LTI Advantage"
      11. You should see a tool card now. Click "Activate" on it.
      12. Edit the tool (click the cog)
      13. Set:
        • "Name" to "Moodle Tool Site"
        • "Tool configuration usage" to "Show in activity chooser and as a preconfigured tool"
      14. Save the form

      Test creating a resource link and launching

      1. Login to the platform site
      2. Go to the course
      3. Click to create an activity or resource
      4. Select the "Moodle Tool Site" activity tile
      5. When you're taken to the edit form, click the "Select content" button
      6. In the popup, verify:
        • You see a view containing the "Use existing account" card
        • Since you're not logged in, you see a "Log in" button at the bottom
      7. Click the login button
      8. Proceed to login to the site
      9. Verify you're taken back to the previous view, but can now see "Link this account" presented as a button at the bottom.
      10. Click the button to link the account, and proceed through any success notifications
      11. Verify you see a list of activities without errors
      12. Click the "Add to course" checkbox for the assignment and click "Add content"
      13. Verify the modal closes and you see the edit form, now updated with the assignment name
      14. Click "Save and return to course"
      15. Click the assignment you just created to launch the tool
      16. Verify you're taken to the assignment, inside a frame, and there are no errors on the page.
      17. Now, edit the activity settings again
      18. Again, click "Select content"
      19. Verify you're logged in and can see a list of published activities.
      Show
      Note: Test on Chrome, Edge or Firefox. Safari blocks 3rd party cookies and isn't yet supported in the tool. Prerequisites You need two Moodle sites - one called 'platform' and one called 'tool': In the tool site admin settings: Enable enrol_lti and auth_lti plugins Enable "Allow frame embedding" Make both sites public, HTTPS sites using something like ngrok, localtunnel, expose, etc. Each MUST have a distinct domain to ensure we hit cross-site checks, so you may need to use 2 different tools Course setup Login to the tool site as the admin Create a course called 'tool course' Create an assignment in the course From the course nav, select "More > Published as LTI tools" Click to publish a new resource Select the assignment in the "Tool to be published" field, leaving everything else alone Save In another tab, login to the platform site as the admin Create a course called 'platform course' LTI 1.3 setup Login to the tool site as the admin user Go to Admin > Plugins > Enrolment plugins > Publish as LTI tool > Tool registration Click to create a new registration Name the registration "platform site" and continue You'll see a dynamic registration URL. Click the "Copy to clipboard" icon to copy it Now, in another browser tab, login as the admin user to the platform site Go to Site admin > Development > Debugging and set debug messages to "None". If we don't do this, we'll hit MDL-80674 . Go to to Admin > Plugins > Activities > External tool > Manage tools Paste the URL value into the "Tool URL" field Click "Add LTI Advantage" You should see a tool card now. Click "Activate" on it. Edit the tool (click the cog) Set: "Name" to "Moodle Tool Site" "Tool configuration usage" to "Show in activity chooser and as a preconfigured tool" Save the form Test creating a resource link and launching Login to the platform site Go to the course Click to create an activity or resource Select the "Moodle Tool Site" activity tile When you're taken to the edit form, click the "Select content" button In the popup, verify : You see a view containing the "Use existing account" card Since you're not logged in, you see a "Log in" button at the bottom Click the login button Proceed to login to the site Verify you're taken back to the previous view, but can now see "Link this account" presented as a button at the bottom. Click the button to link the account, and proceed through any success notifications Verify you see a list of activities without errors Click the "Add to course" checkbox for the assignment and click "Add content" Verify the modal closes and you see the edit form, now updated with the assignment name Click "Save and return to course" Click the assignment you just created to launch the tool Verify you're taken to the assignment, inside a frame, and there are no errors on the page. Now, edit the activity settings again Again, click "Select content" Verify you're logged in and can see a list of published activities.
    • 1
    • Team Hedgehog 2024 Sprint 1.2

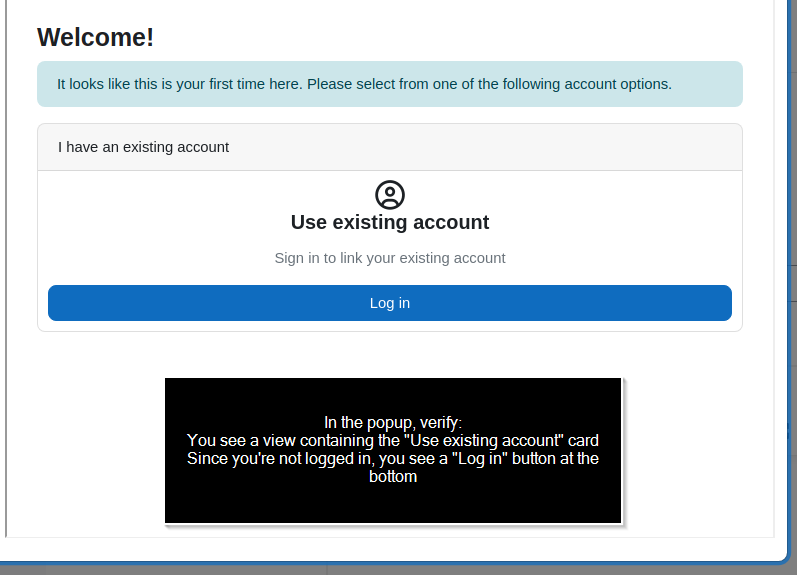
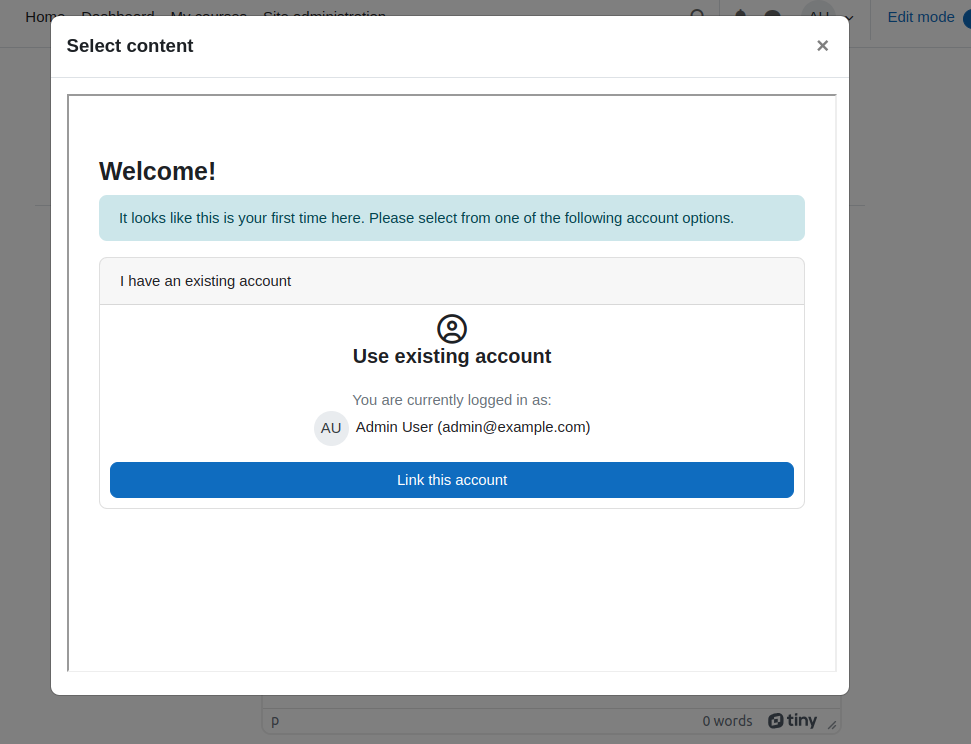
      Browser 3rd party cookie policy has changed. While the existing piggyback works right now in Chrome, it'll stop working as non-partitioned 3rd party cookie support is dropped. Session piggyback won't work at all with partitioned cookies. Firefox already partitions cookies. Safari does not support partitioning, however.

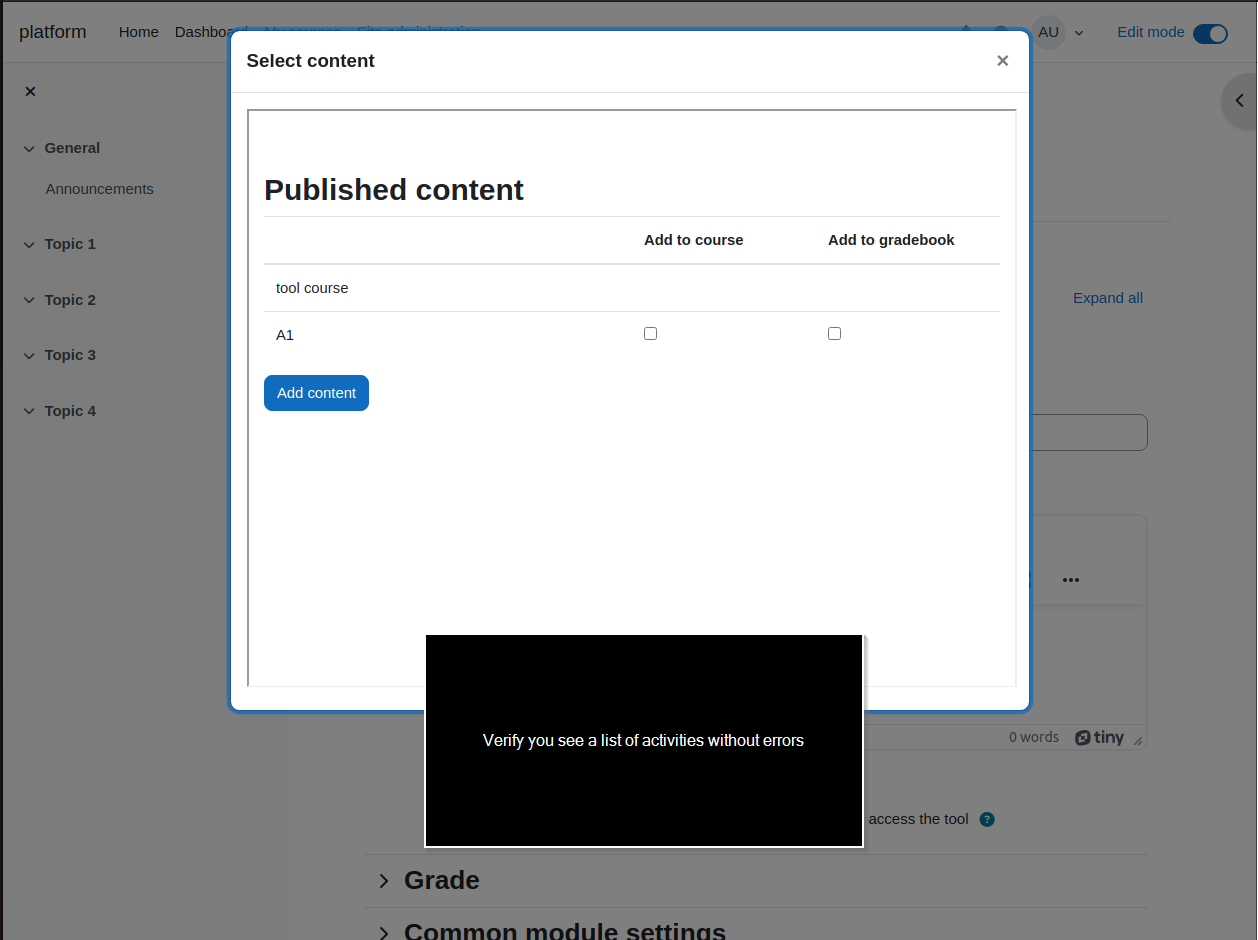
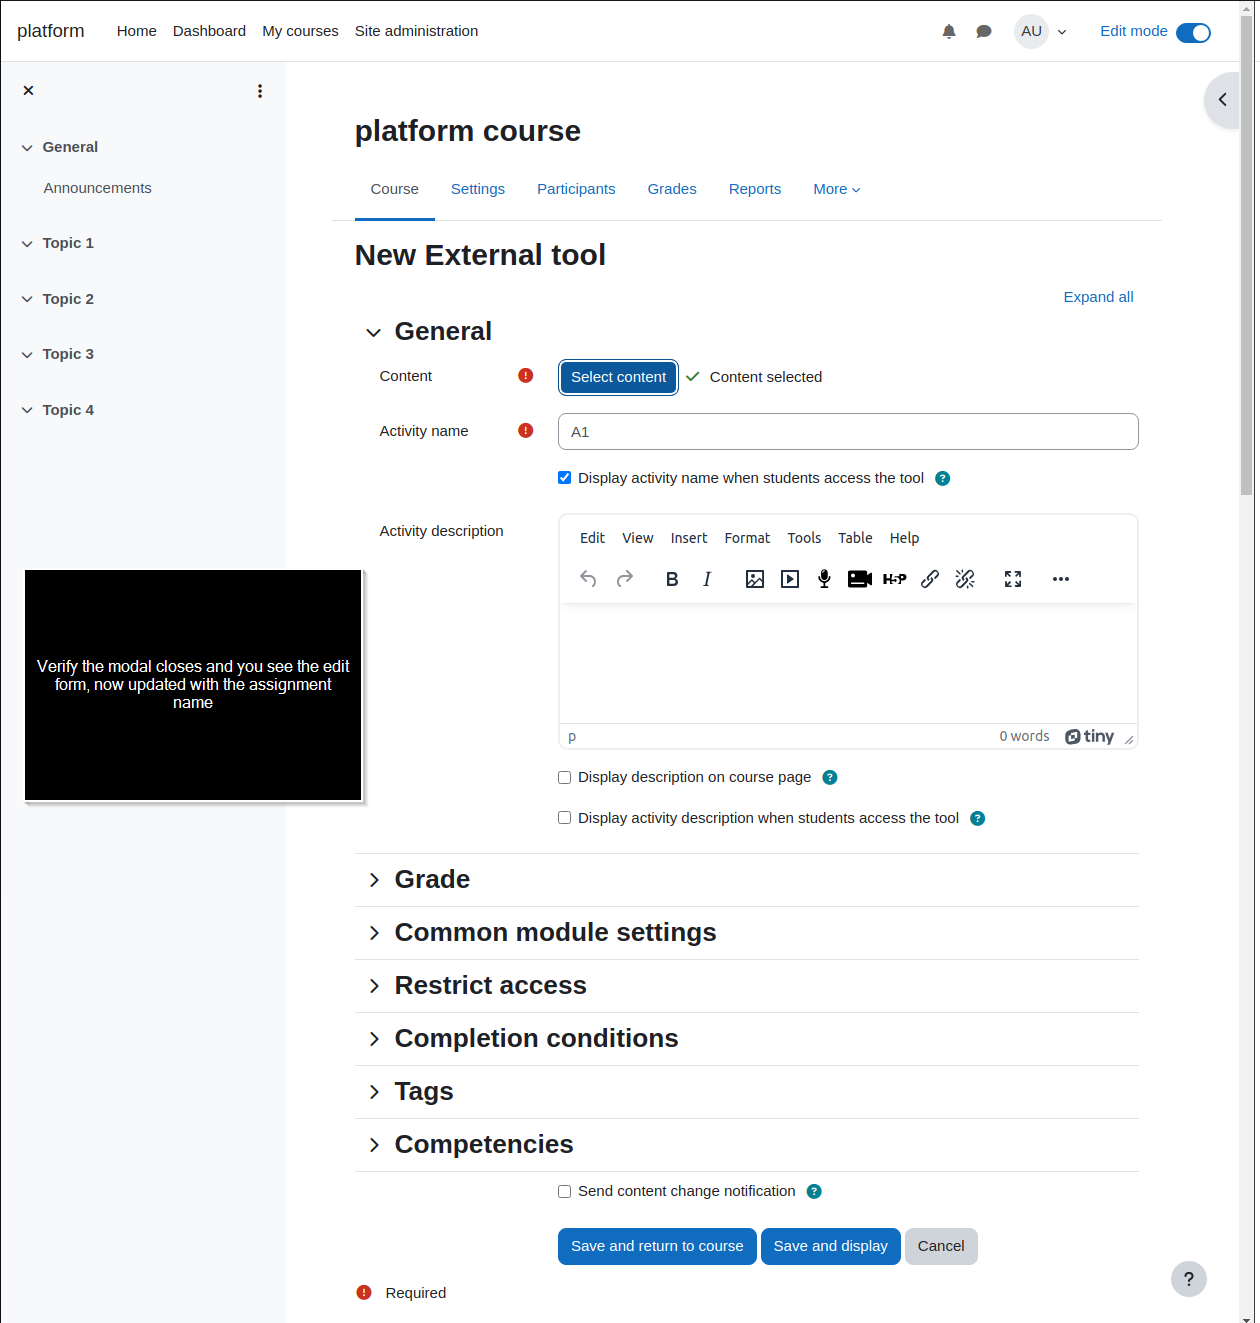
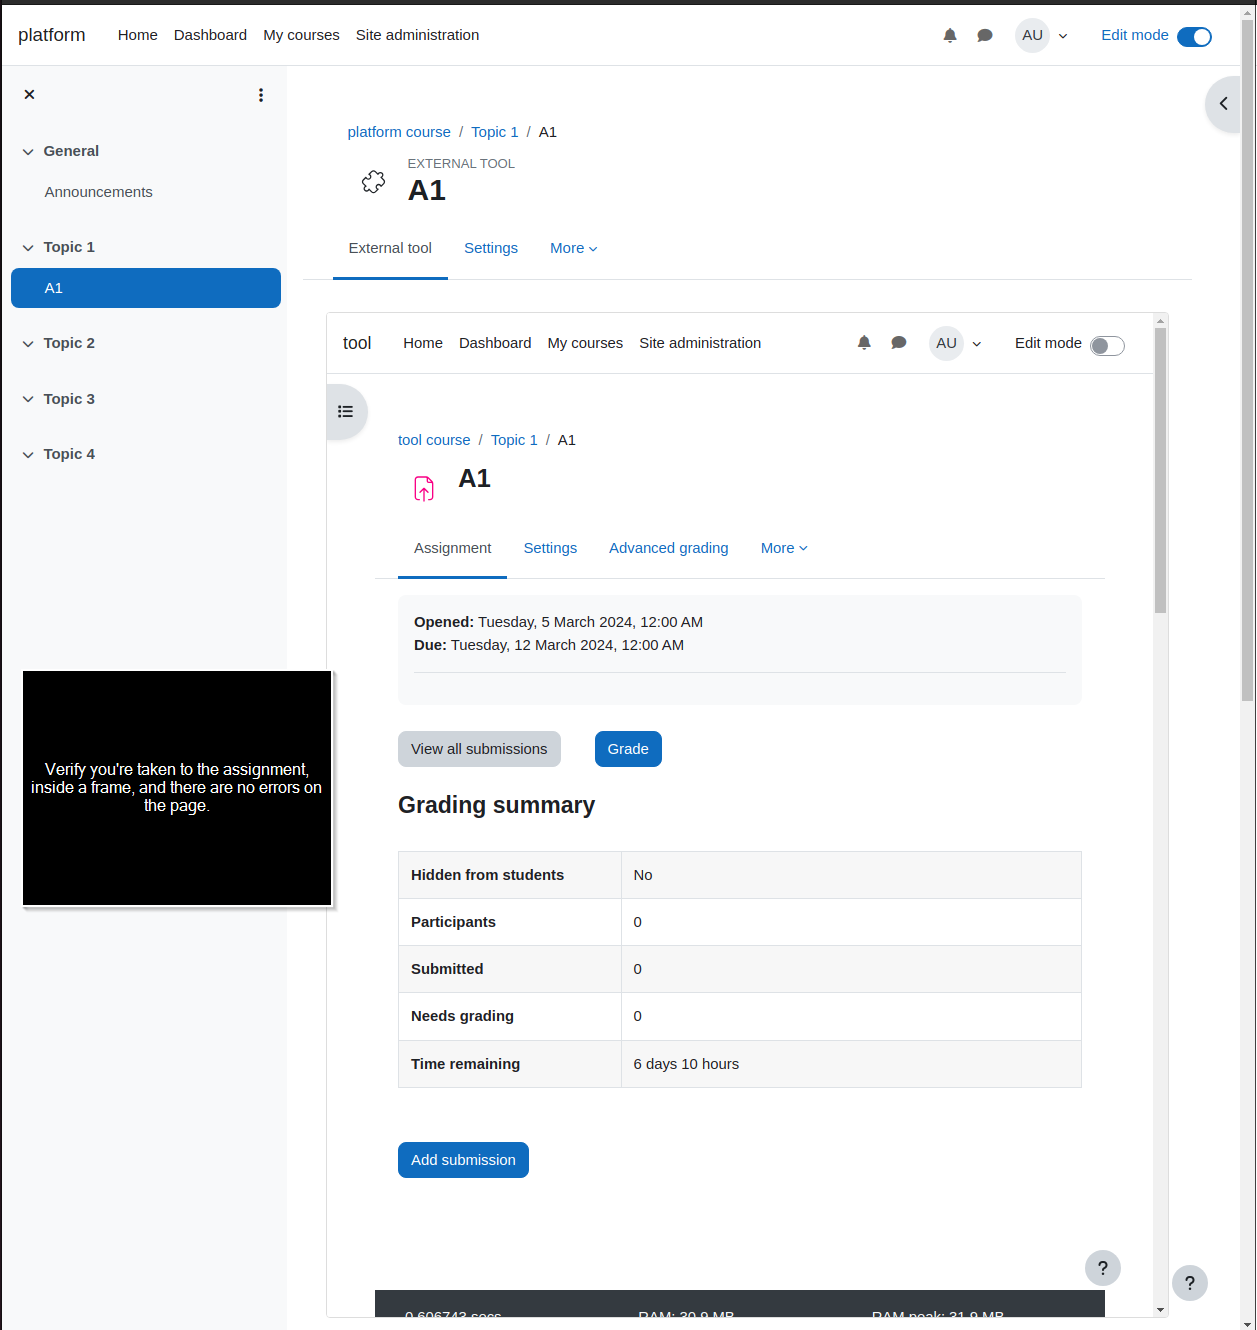
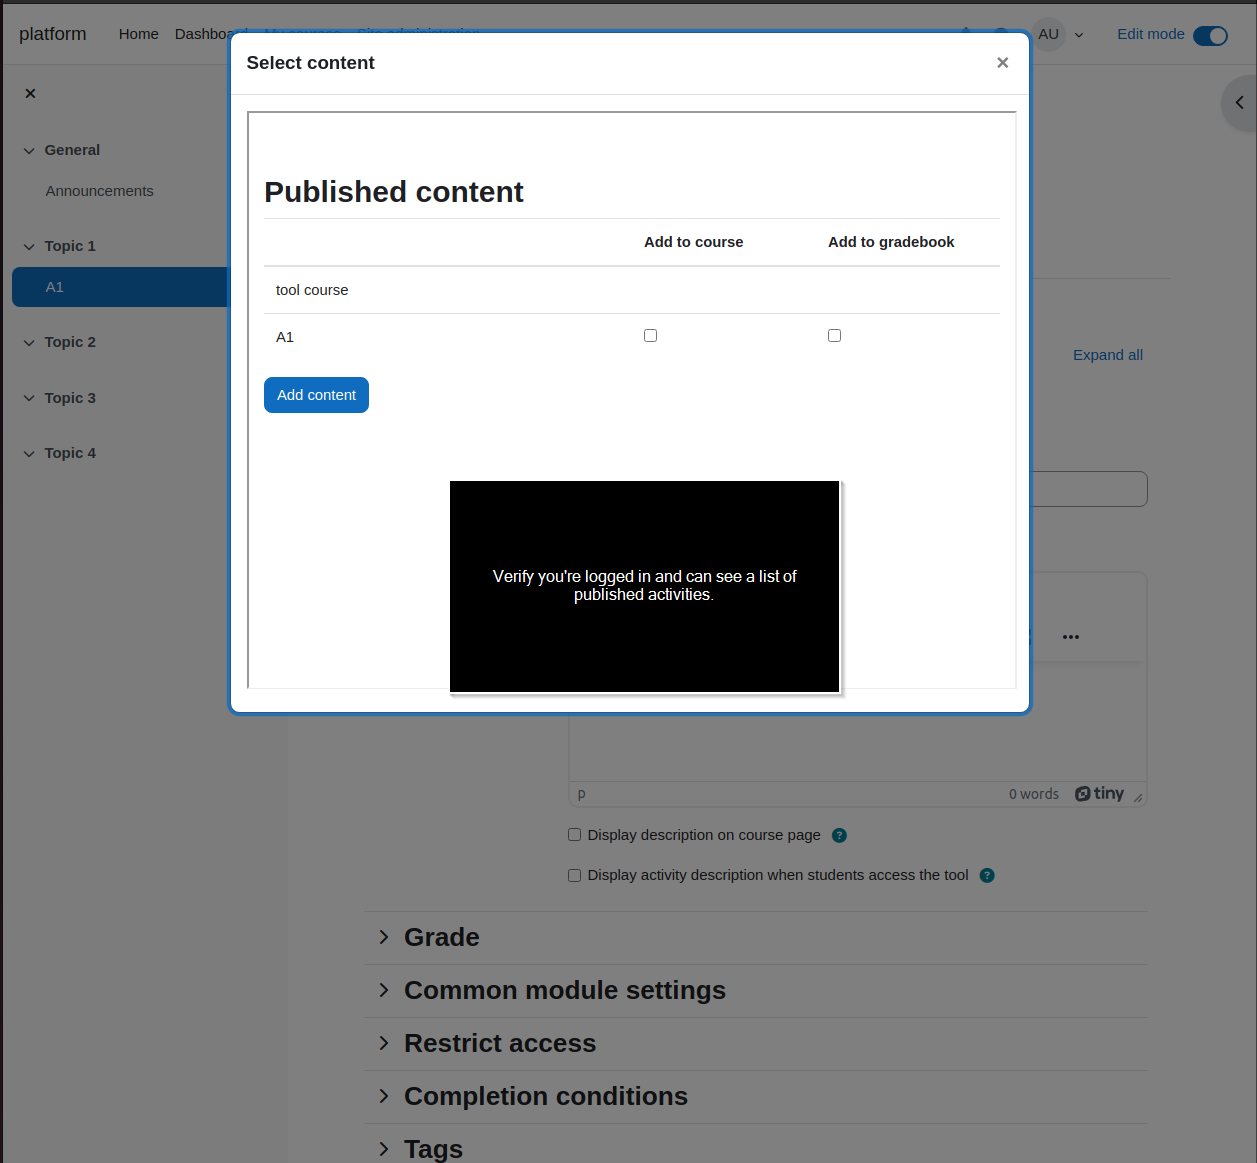
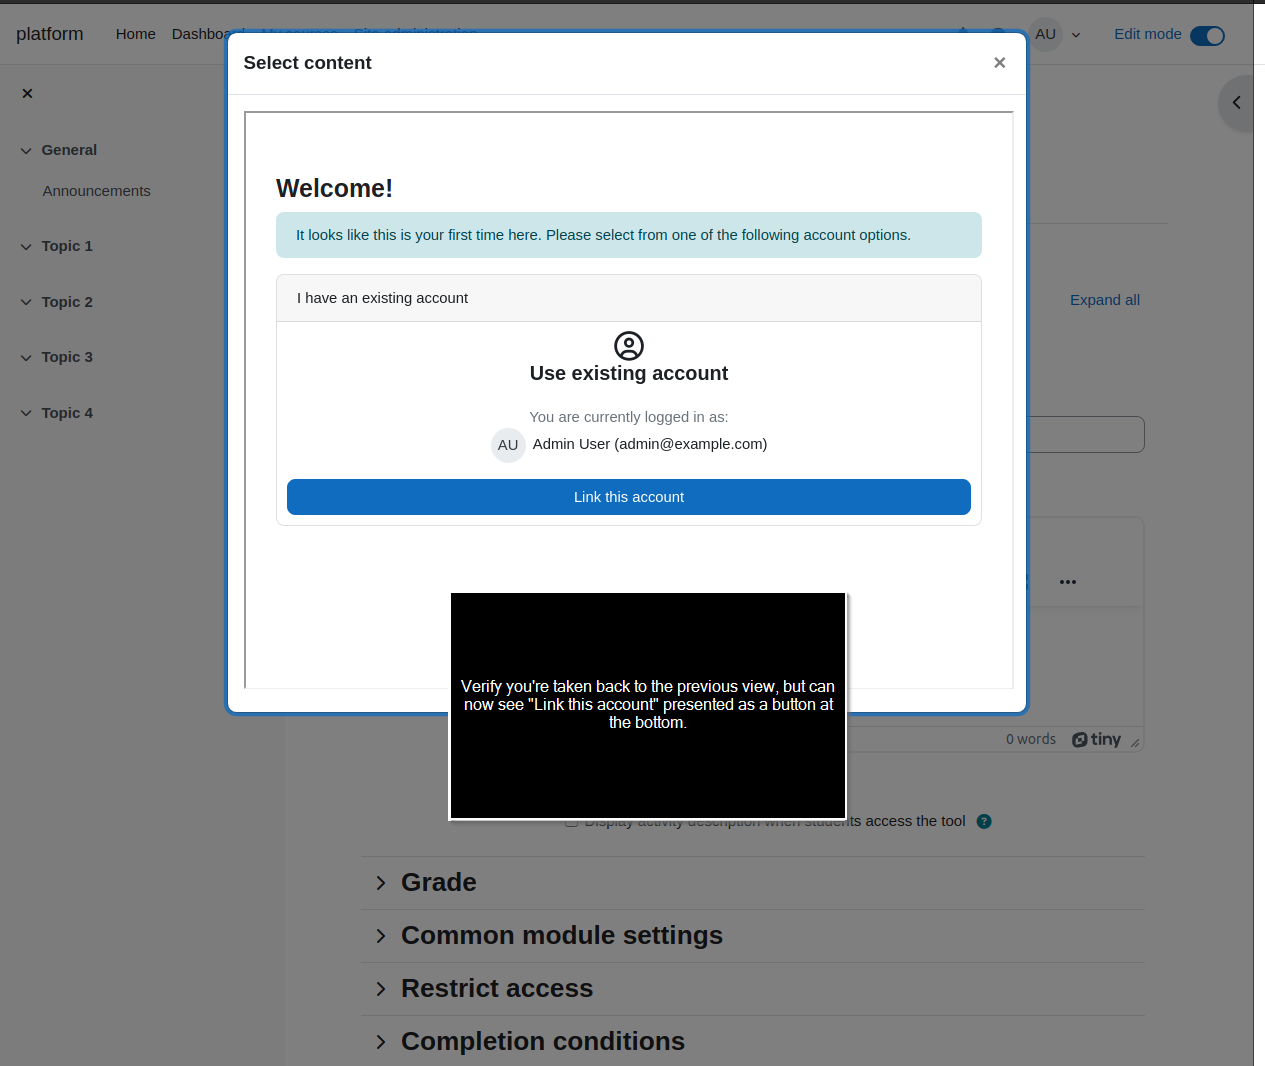
      This issue is scoped with replacing the session piggy back with a proper "redirect to login" workflow, when linking accounts during an LTI launch. This will ensure account linking works properly for Chrome and Firefox into the future.

            jaked Jake Dallimore
            jaked Jake Dallimore
            Raquel Ortega Raquel Ortega
            Huong Nguyen Huong Nguyen
            Kim Jared Lucas Kim Jared Lucas
            Votes:
            0 Vote for this issue
            Watchers:
            4 Start watching this issue

              Created:
              Updated:
              Resolved:

                Estimated:
                Original Estimate - Not Specified
                Not Specified
                Remaining:
                Remaining Estimate - 0 minutes
                0m
                Logged:
                Time Spent - 1 day, 3 hours, 30 minutes
                1d 3h 30m

                  Error rendering 'clockify-timesheets-time-tracking-reports:timer-sidebar'. Please contact your Jira administrators.